


Stitching is the structural backbone of a dress shirt, determining how long it holds its shape, how it survives washing, and whether it looks sharp after a year of regular wear. Knowing how to identify quality dress shirt stitching separates a shirt that lasts a decade from one that frays after six months. The key indicators are stitch type, stitch density (measured in stitches per inch, or SPI), consistency across seams, and construction techniques like flat-felled seams and single-needle sewing. Once you know what to look for, you can evaluate any shirt in under two minutes, whether you are standing in a store or zooming into product photos online.
How to identify quality dress shirt stitching: the core traits
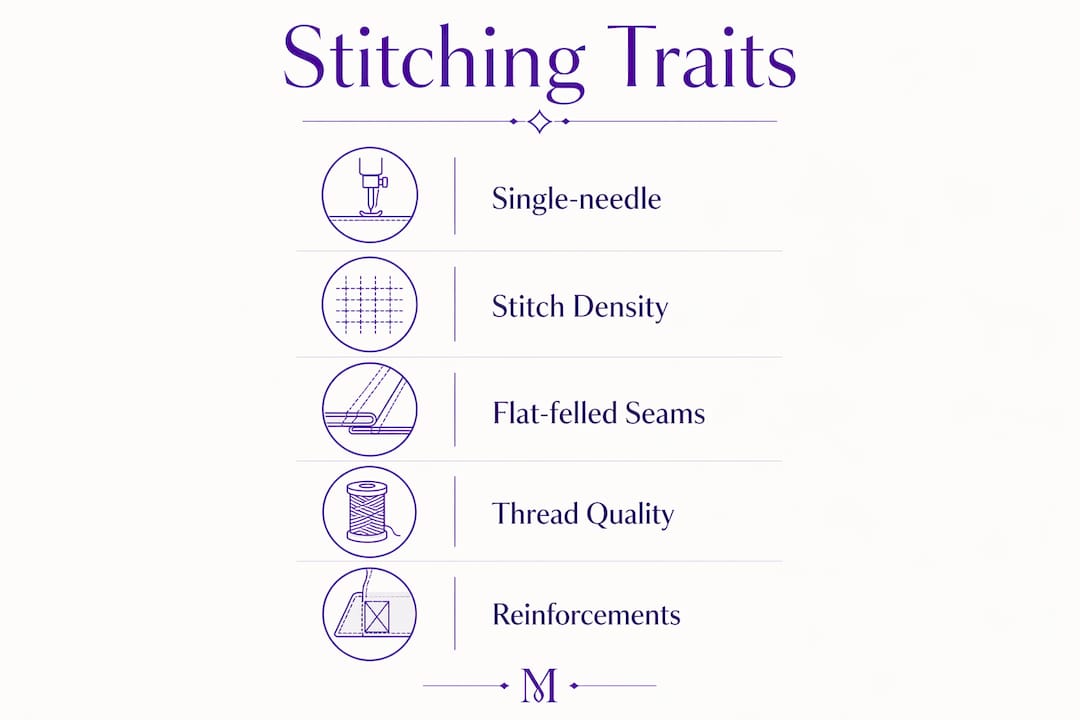
Dress shirt stitching quality comes down to five measurable traits. Each one tells you something specific about how a shirt was made and how long it will last.
Single-needle versus double-needle stitching
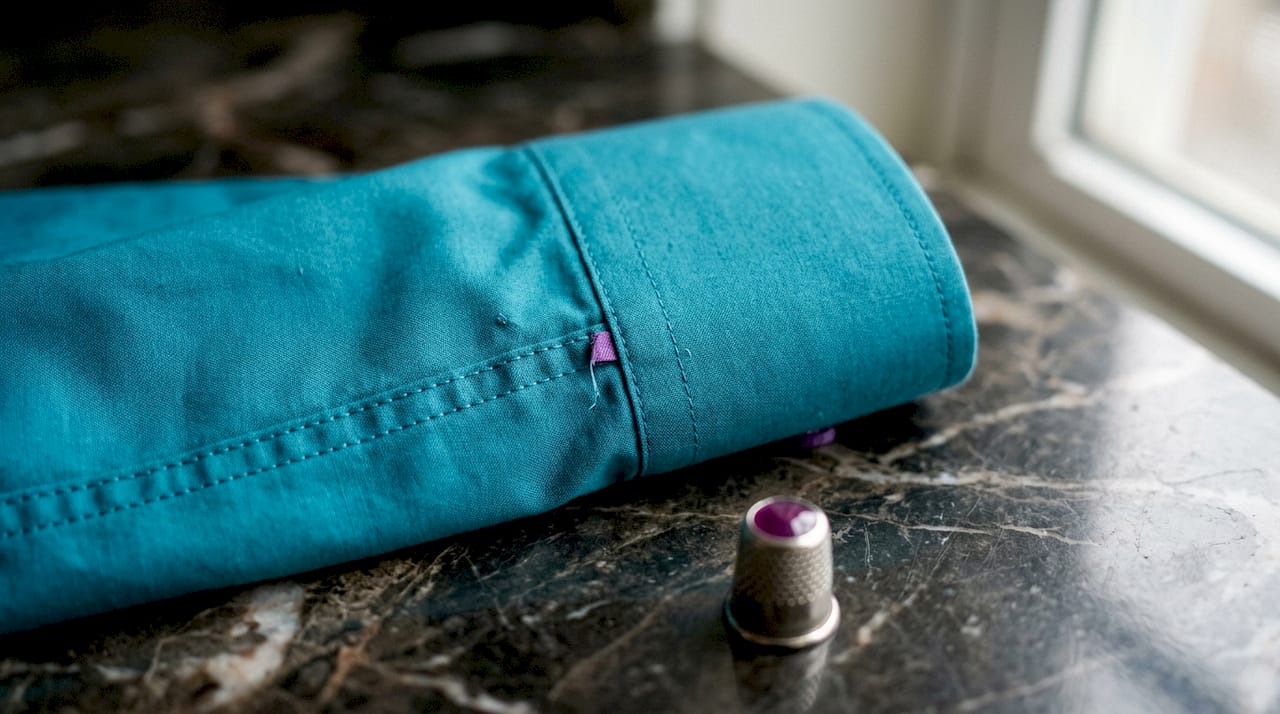
Single-needle stitching produces flat, clean seams without puckering, even after repeated washing. Double-needle stitching is faster and cheaper to produce, which is why mass-market shirts rely on it. You can spot the difference by looking at the inside of a side seam. A single-needle seam has one row of stitching on each side. A double-needle seam has two parallel rows, creating a slightly raised ridge that can pucker over time.
Stitch density: the numbers that matter
The right SPI depends on the fabric weight. 16–22 stitches per inch is the standard range for quality dress shirts. Fewer than 12 SPI on a heavy fabric signals a weak seam that will pull apart under stress. Too many stitches on a lightweight fabric like fine cotton poplin causes the fabric to pucker and weaken the fibers. A quality shirt hits the right SPI for its specific fabric weight. That balance is a sign of a manufacturer who understands materials, not just production speed.
Flat-felled seams and reinforced construction
Flat-felled seams enclose the raw fabric edges inside the seam itself, creating a neat, double-layered finish that resists fraying. They require more labor than a simple overlocked seam, which is why budget shirts skip them. Run your finger along the inside of a side seam. A flat-felled seam feels smooth and folded, with two visible rows of stitching on the outside. An overlocked seam feels rough and unfinished on the inside.
Pro Tip: Hold the shirt up to a window or strong light source and look at the seams from the outside. Wavering stitch lines or uneven spacing are visible immediately under direct light, even without a magnifying glass.
Signs of poor stitching to reject immediately
- Missed or skipped stitches along any seam
- Wavy or wandering stitch lines instead of straight, parallel rows
- Visible puckering along side seams or the collar stand
- Loose thread ends that have not been secured or trimmed
- Uneven spacing between stitches, which signals poor machine calibration
Inconsistent stitch length or tension is not just a cosmetic issue. It reflects a machine that was not calibrated correctly or an operator who lacked the skill to maintain consistent output. Either way, the seam will fail faster than it should.
How to physically inspect stitching on each part of the shirt
Evaluating dress shirt stitching quality requires checking specific zones. Each area of the shirt tells a different story about the manufacturer’s standards.
-
Side seams. Turn the shirt inside out and run your finger along both side seams from the hem to the armhole. The stitching should be straight, evenly spaced, and smooth on both sides. Any puckering or deviation from a straight line is a red flag.
-
Shoulder seams. Check whether plaid or stripe patterns align at the shoulder seam. Pattern matching at this point requires extra cutting time and skill. Misaligned patterns mean the manufacturer prioritized speed over quality.
-
Collar and collar stand. The collar stand is one of the most stress-tested parts of a shirt. Look for tight, even stitching around the entire collar edge. Any gaps or loose threads here will worsen quickly with regular wear and ironing. For more on how collar construction affects overall quality, the guide on collar construction details at Moreciandco covers the technical side clearly.
-
Placket. The front placket should lie flat with perfectly straight stitching on both edges. A quality placket uses a separate strip of fabric stitched with precision. Wavy placket stitching means the shirt will never lie flat under a tie or jacket. For a deeper look at placket construction, the placket styles guide at Moreciandco explains what separates a quality build from a shortcut.
-
Buttonholes. Quality buttonholes have dense, tightly packed stitching around the entire opening with no loose threads. The cut should be clean, not frayed. Run your fingernail around the inside edge. If threads catch or pull, the buttonhole will unravel within months.
-
Buttons. Tension-threaded or cross-lock button attachment creates a reinforced shank that prevents buttons from cracking or pulling free under commercial pressing. Grab a button and give it a firm tug. A well-attached button will not shift. A poorly attached one will wobble or the thread will visibly strain.
Pro Tip: The pull test is the fastest quality check in retail. Grip a button between your thumb and forefinger and pull firmly for three seconds. If the thread shows any sign of loosening, the shirt will lose that button within a few months of regular wear.
Does fabric type change what good stitching looks like?
The relationship between fabric and stitching is one of the most overlooked factors when buyers evaluate dress shirt stitching quality. A stitch count that works perfectly on one fabric can destroy another.
| Fabric type | Ideal SPI range | Risk of too many stitches | Risk of too few stitches |
|---|---|---|---|
| Fine cotton poplin | 16–18 SPI | Puckering, fiber damage | Acceptable, minor weakness |
| Oxford weave | 18–20 SPI | Minimal risk | Seam weakness under stress |
| Twill | 18–22 SPI | Minimal risk | Seam separation over time |
| Linen | 14–16 SPI | Puckering, thread pull | Acceptable on heavier weights |
Lightweight fabrics like fine cotton poplin are particularly vulnerable. Too many stitches punch too many holes too close together, weakening the fabric along the seam line. The result is puckering that no amount of ironing will fix permanently. Understanding dress shirt fabric types helps you set the right expectations before you even look at the seams.
Thread quality matters just as much as stitch count. Low-quality thread is inconsistent in diameter, which creates uneven tension across a seam. High-quality thread is smooth, strong, and uniform. You can assess thread quality visually by looking at the sheen and consistency of the stitching under light. Dull, slightly fuzzy thread on visible seams is a sign of cost-cutting that will show up as seam failure within a year.
Expert manufacturers match thread weight to fabric weight, then calibrate SPI to the specific combination. That level of care is what separates a shirt that looks the same after 50 washes from one that starts to pull and pucker after 10.
Common stitching red flags that signal a low-quality shirt
Knowing the red flags saves you from expensive mistakes. These are the construction shortcuts that manufacturers take when they prioritize volume over quality.
- Double-needle side seams are the most common cost-saving move in mass-market shirts. They are faster to produce but create a bulkier seam that puckers after washing.
- Inconsistent SPI across the same seam means the sewing machine was not properly maintained or the operator was not skilled enough to maintain consistent feed speed.
- Fraying thread ends at seam intersections show that the manufacturer did not take time to secure and trim loose threads. Those threads will catch on fabric and unravel the seam from the inside.
- Plastic buttons without reinforced shanks crack under the heat of commercial pressing and pull free from poorly attached thread within months.
- Misaligned patterns at seams on plaid or striped shirts confirm that the manufacturer cut fabric in bulk without matching. Pattern alignment at seams is a reliable proxy for overall construction attention.
- Puckering along the collar stand or placket means the stitching tension was set incorrectly for the fabric. This will get worse with every wash and iron cycle.
Expert tips for evaluating stitching in retail or online
Checking shirt stitching in a store or from a product listing requires a few specific techniques that most buyers never use.
In a retail setting, always check stitching under the store’s overhead lighting first, then move the shirt to a window or your phone’s flashlight. Raking light at an angle reveals puckering and wavering stitch lines that flat overhead lighting hides. Look for the terms “single-needle” and “flat-felled seam” on hang tags or product descriptions. Brands that use these techniques advertise them because they cost more to produce.
When shopping online, zoom into seam photos at the collar stand, placket, and cuffs. These are the areas manufacturers photograph most carefully, so any visible flaw in those images signals worse quality elsewhere on the shirt. Ask the brand directly whether side seams are single-needle or double-needle. A brand confident in its construction will answer immediately.
Pro Tip: Prioritize stitching quality above fabric thread count when your budget is limited. A shirt made from a good but not exceptional fabric with excellent stitching will outlast a shirt made from premium fabric with poor construction every time.
When budget allows, stitching quality should be the first filter, not the last. A shirt that holds its seams and buttons through two years of weekly wear delivers far more value than one that looks impressive on the hanger but deteriorates after a season.
Key Takeaways
Quality dress shirt stitching is defined by stitch type, stitch density matched to fabric weight, consistent tension, and reinforced construction at high-stress points like buttons and collars.
| Point | Details |
|---|---|
| Single-needle is the standard | Single-needle stitching produces flat, clean seams that resist puckering after washing. |
| SPI must match fabric weight | 16–22 stitches per inch is the quality range; the right number depends on the specific fabric. |
| Flat-felled seams signal quality | These seams enclose raw edges and require more labor, making them a reliable quality marker. |
| Button attachment reveals craftsmanship | Tension-threaded or cross-lock buttons resist cracking and detachment under heat and stress. |
| Pattern alignment confirms attention | Matched plaids or stripes at shoulder seams show the manufacturer prioritized precision over speed. |
What stitching taught me about buying shirts
I used to evaluate dress shirts the way most people do: fabric feel first, fit second, price third. Stitching was an afterthought. Then I started pulling buttons on shirts before buying them, and the results changed how I shop entirely.
The shirts I thought were good value failed the pull test constantly. Buttons wobbled. Thread strained. Side seams puckered after the third wash. The shirts that passed every inspection I have described here lasted years longer and held their shape through dozens of dry-cleaning cycles.
The uncomfortable truth is that most buyers never inspect stitching at all. They rely on brand name or price as a proxy for quality. Neither is reliable. A high price does not guarantee single-needle construction or flat-felled seams. A recognizable brand name does not mean the factory calibrated its machines correctly for the fabric weight.
Stitching is the one quality indicator that does not lie. You can see it, feel it, and test it in under two minutes. Buyers who learn to read it stop making expensive mistakes. They also stop tolerating shirts that look great in the store and fall apart at the seams within a season.
— Giuseppe
Moreciandco: shirts built the way they should be
Moreciandco was built on a straightforward idea: you should get what you pay for. That means single-needle construction, thread matched to fabric weight, and seams that hold up to real wear, not just a first impression.
The Complesso Collection reflects that commitment across every piece. Construction details like reinforced button attachment and flat seam finishing are standard, not upgrades. If you want to put what you have learned here to the test, start with a shirt built to pass every inspection you now know how to run. The full Moreciandco store is the place to start.
FAQ
What is single-needle stitching on a dress shirt?
Single-needle stitching uses one needle to sew each seam separately, producing a flat, clean finish without puckering. It costs more to produce than double-needle stitching and is a reliable sign of quality construction.
How many stitches per inch should a quality dress shirt have?
A quality dress shirt typically has 16–22 stitches per inch, with the exact number depending on fabric weight. Fewer than 12 SPI on a heavy fabric signals a weak seam.
How do I check button quality on a dress shirt?
Grip each button firmly and pull for three seconds. High-quality shirts use tension-threaded or cross-lock attachment that does not shift under pressure. Any wobble or thread strain means the button will fail with regular wear.
What does a flat-felled seam look like?
A flat-felled seam shows two parallel rows of stitching on the outside of the shirt and a smooth, folded finish on the inside. It encloses the raw fabric edge, which prevents fraying and adds strength.
Does pattern matching at seams really matter?
Yes. Matched plaid or stripe patterns at shoulder and side seams require precise cutting and extra production time. Misaligned patterns confirm the manufacturer prioritized speed over craftsmanship across the entire shirt.